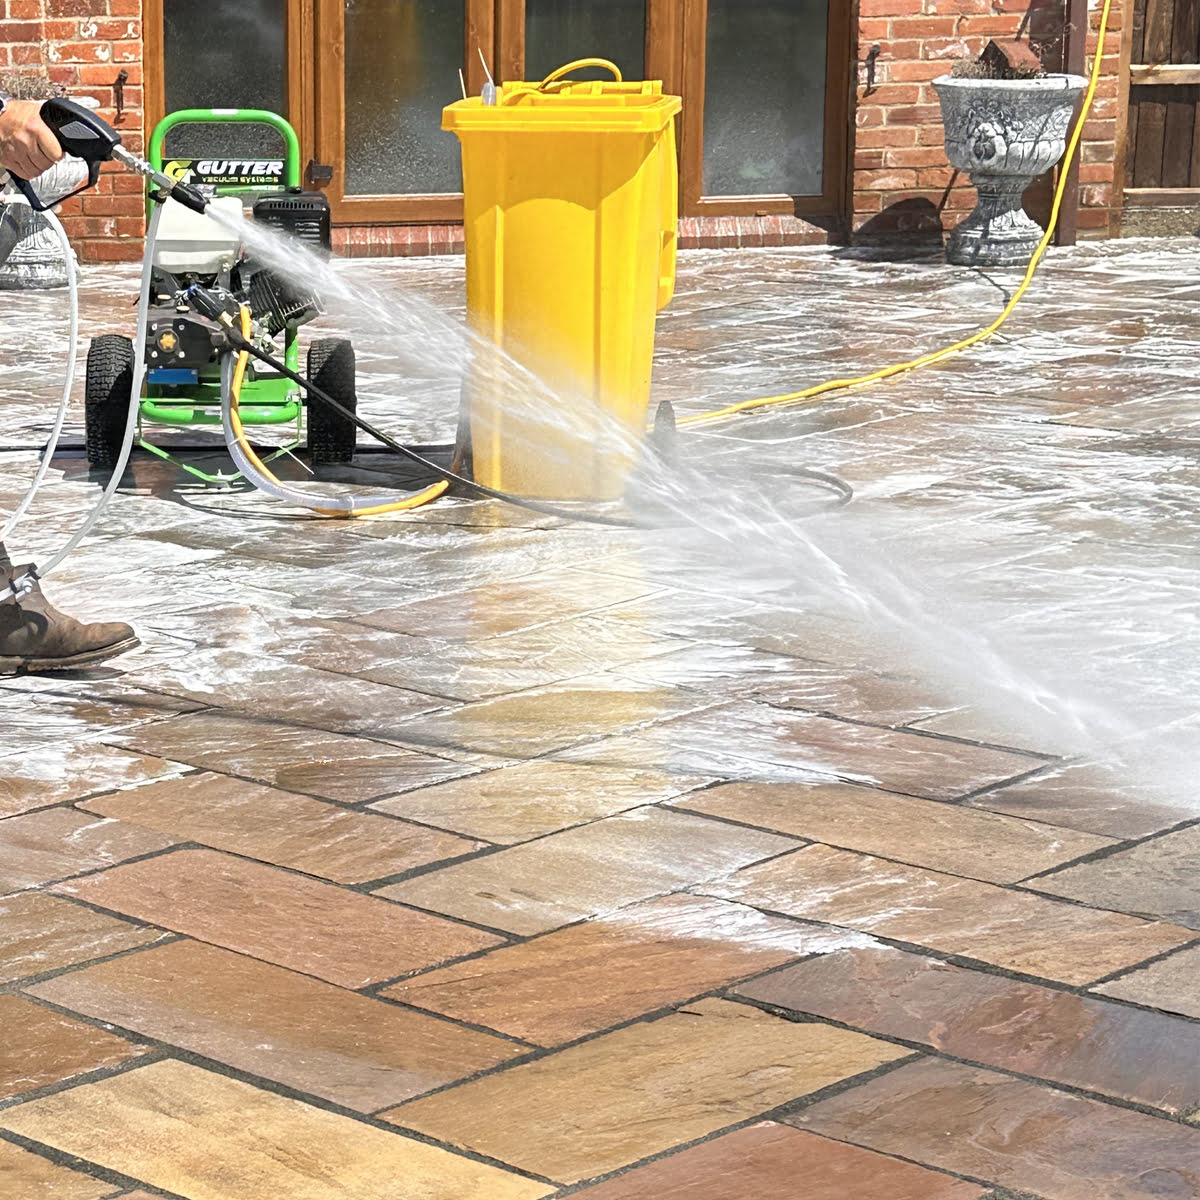
When cleaning rendered surfaces, traditional high-pressure methods can cause cracks, water ingress, and surface damage. Softwashing offers a safer, more effective approach—perfect for Australia’s diverse range of render types, from acrylic to cement. Here’s a detailed guide to cleaning render safely with softwash techniques:
1. Why Softwash Is Best for Rendered Walls
-
Low pressure, high effectiveness: Softwashing uses gentle water flow combined with chemical solutions to remove dirt and organic growth—without the damage from pressure washing.
-
Protects render integrity: High PSI can erode or crack render—softwash preserves surface health and longevity .
2. Essential Supplies & Equipment
-
Low-pressure softwash pump and nozzle: Use a gentle softwash pump with a suitable nozzle (e.g., Benz 10 softwash nozzle) at 5–8 L/min flow.
-
Water-fed pole or handheld wand: Enables reach without damaging surfaces.
-
Cleaning solutions:
-
Sodium hypochlorite mix (approx. 3:1 water:chemical) tackles heavy algae, moss, and black spots.
-
Biocide rinse (e.g., EBC) provides long-term protection by preventing regrowth.
-
Surfactants improve coverage and adhesion on vertical surfaces.
-
Brushing tools: Soft-cladding brush for agitating treatment into textured surfaces.
-
PPE: Gloves, goggles, protective clothing, and respirator for chemical safety
3. Preparation Steps
-
Inspect the render: Look for cracks, flaking, or damaged areas—repair before cleaning.
-
Protect surroundings: Shield plants, windows, and metal fittings from overspray.
-
Test patch first: Always trial the chemical mix in an inconspicuous section to check compatibility.
4. Softwash Cleaning Process
-
Apply the chemical solution: Using low-pressure spray, saturate the render evenly from top to bottom.
-
Brush-in gently: Work the chemical into the surface for deeper penetration—ideal for textured finishes.
-
Dwell time: Leave the solution to work—typically 30–60 minutes, depending on staining severity.
-
Rinse thoroughly: Use low-pressure water to remove residues—essential to prevent salt build-up that could stain or damage the render.
5. Post-treatment & Maintenance
-
Biocide application: After rinsing, apply a DDAC-based biocide to inhibit future organic growth.
-
Scheduled upkeep: Reapply softwash treatments every 6–12 months or when stains reappear for long-lasting results.
6. Weather & Safety Best Practices
-
Ideal conditions: Avoid direct sun, wind, or cold days—these can reduce effectiveness or cause overspray issues.
-
Chemical handling: Mix in shade, label containers clearly, and store securely.
-
Operator safety: Don’t skip PPE and ensure proper ventilation—protect skin, eyes, and lungs from exposure .
Why Softwash Australia Recommends This
Softwashing render with low-pressure chemical cleaning protects delicate surfaces while earning long-term value for clients. As specialists in softwash systems and coatings, Softwash Australia offers tailored surfactants and biocides crafted for Australian conditions—and backed by expert advice and training.

Leave a comment
This site is protected by hCaptcha and the hCaptcha Privacy Policy and Terms of Service apply.