
Removing moss, mould, and mildew from exterior surfaces is a key maintenance task that preserves both aesthetics and structural integrity. Left unchecked, these organisms can damage surfaces, create slip hazards, and lead to more costly repairs.
Below is a detailed, step-by-step guide to effectively and safely restore your exterior surfaces — whether brick, timber, concrete, stone, or render — drawing on best practices and integration with the Softwash Australia product ethos.
1. Understand the Problem: Why Moss, Mould & Mildew Grow
These organisms flourish in damp, shaded, or poorly drained environments. They thrive on surfaces with organic matter (dust, pollen, decay), where moisture lingers. Once their root structures gain purchase, they not only stain surfaces but can deteriorate materials (e.g. timber fibres, mortar joints). Effective removal must target both the visible growth and the underlying root structure.
2. Safety and Preparation
-
Protect Surroundings: Before applying any chemicals, saturate nearby plants and vegetation with water to reduce the risk of chemical damage (runoff). Cover delicate foliage if possible.
-
Personal Protective Equipment: Use safety goggles, gloves, long-sleeved clothing, and mask or respirator (especially when using biocides).
-
Dry Conditions Ideal: Plan to work on a dry, overcast day if possible. Avoid working in direct strong sunlight or just before rain — you want the cleaning solution to dwell, not evaporate or get washed off too soon.
-
Test Patch First: Always try your method on a small, inconspicuous area to ensure substrate compatibility and avoid damage.
3. Choose the Right Cleaning Method
You have several options depending on the surface, severity, and sensitivity:
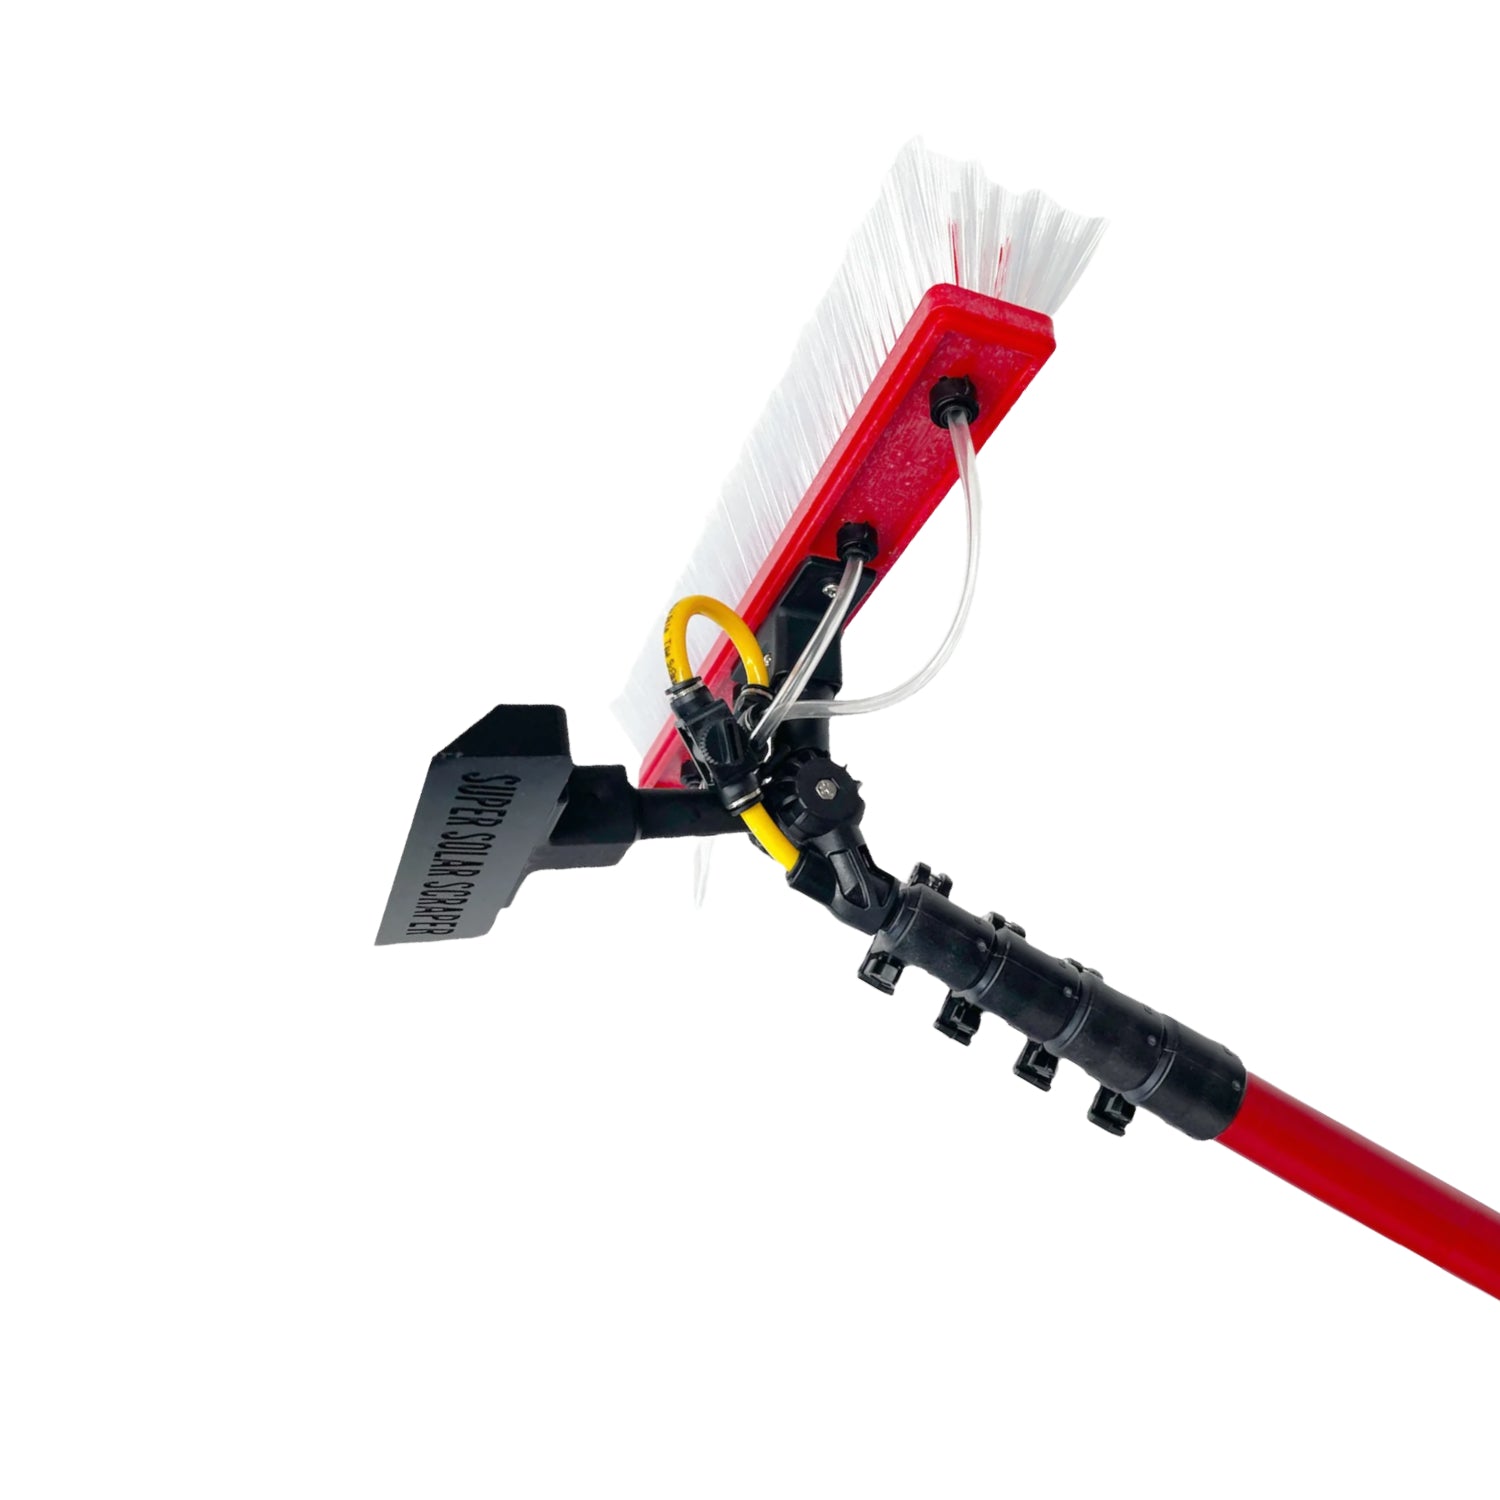
A. Softwash / Low-pressure Chemical Treatment
This is often the preferred method for building exteriors, timber, render, and delicate surfaces. The idea is to apply a biocidal solution at low pressure, let it dwell, and then rinse. This method kills the organisms rather than relying on sheer mechanical force.
-
Use a biocidal cleaning solution (e.g. from the Softwash Australia range) designed to target moss, mould, and mildew without aggressive pressure.
-
Apply evenly, ensure good dwell time (typically 15–30 minutes, depending on label instructions), keeping the surface damp but not allowing the solution to dry.
-
Rinse gently with low-pressure water, top to bottom, flushing residual matter away.
B. Soft Scrub & Rinse
For moderate stains, combine chemical treatment with gentle mechanical action.
-
After dwell time, scrub using a soft-bristled brush or non-metallic pad.
-
Rinse thoroughly to clear loosened residue.
C. Pressure Washing (With Caution)
Used only where the surface is robust (concrete, stone) and able to withstand moderate pressure.
-
Use low to medium pressure.
-
Maintain a safe distance (30–50 cm or more, depending on nozzle).
-
Use sweeping motions rather than holding one spot.
-
Avoid getting water behind cladding, into joints, or where it could cause moisture penetration.
On render, painted surfaces, or softer materials, pressure washing often causes more harm than good — peeling, water ingress, or surface etching.
4. Step-by-Step Removal Process
-
Clear debris & loose growth - Start by brushing or blowing away loose moss, leaves, lichen, and dust.
-
Mix and apply cleaning solution - Follow manufacturer’s dilution instructions. With Softwash products, compatibility with your surfaces will already be ensured. Saturate affected areas fully.
-
Let dwell - Allow the biocidal solution time to act. This is when it penetrates and kills the root structure of mould/moss.
-
Agitate (if needed) - For stubborn patches, lightly scrub.
-
Rinse thoroughly - Use a gentle rinse to wash debris away, always progressing from top to bottom.
-
Second treatment (if necessary) - For heavy infestations, a follow-up application may be required once the surface has dried.
-
Final inspection & touch-up - Check for remaining stains or regrowth. Spot-treat as necessary.
5. Using Softwash Australia Products
Softwash Australia provides purpose-made solutions that align perfectly with this process. When selecting from their window cleaning collection or general exterior cleaning line:
-
Use a suitable softwash biocide formulated to target biological growth without harming substrates or surroundings.
-
Always follow the label’s dwell time, dilution rate, and safety guidance.
-
Their products are designed to be compatible with low-pressure application systems, making them safer for facades, render, and other sensitive surfaces.
Incorporating their products ensures you’re using cleaning agents designed for the environment and substrates common in Australia — reducing the risk of damage or negative impacts.
6. Preventing Re-growth
Removal is only half the battle. To minimise recurrence:
-
Ensure good drainage and sunlight penetration (trim overhanging trees, redirect runoff, eliminate pooling water).
-
Perform periodic maintenance washes (e.g. annually) using milder formulations.
-
Monitor surfaces for early signs of greening or staining and treat early.
-
Where possible, seal or coat surfaces with breathable protective finishes that resist moisture uptake.
7. Why Softwash Systems Excel Here
The softwash methodology shines when treating organic growth:
-
The chemical approach kills moss, mould, and mildew at their roots — reducing the speed and likelihood of regrowth.
-
It’s gentle on surfaces that might crack, peel or age prematurely under high-pressure cleaning.
-
It allows for long-term maintenance rather than repeated aggressive intervention.
With diligent application, proper product selection (especially from Softwash Australia’s range), and ongoing monitoring, exterior surfaces can maintain their clean, safe appearance for years to come.
Leave a comment
This site is protected by hCaptcha and the hCaptcha Privacy Policy and Terms of Service apply.